Application administration
Configure device signals
VehicleTracker can handle status messages and alarms from a large number of supported devices. Device specific messages are mapped to system messages using Device Mappers for each device type.
Device specific inputs are mapped to the common system message format. For example: the message “SOS Alarm“ can be different for different devices, such as: “SOS”, “SOS Button”, “Alarm1”, “Input1”, “In1”. The Device Mapper is used to transform these device specific messages to a system “SOS Alarm” message.
Device mapper Configuration
You find the Device Mapper under “Device Mappers” in the “Admin”-menu. There are predefined default mappings in the installation that you can edit to suit your needs or delete if you don't need them. Go through the following steps for each device type in your implementation.
- Select “Add new Device Mapper” or “Edit” the Device Mapper you want to update.
- Select a supported device in the drop-down menu
- Give the mapper a name and a description
- Map the device specific messages to system Messages. You only need to map the messages that you actually use in you implementation.
- If you are mapping analog inputs you can add a multiplier and constant to transform the device specific input to a “real” value.
For example: If your vehicle tracking device sends fuel level represented as 0 – 255 for 0 to 70 liters your multiplier should be set to 70/255 = 0.2745098. This way the system “Fuel level” message will contain the actual fuel level in liters. The constant can be used to add an offset to the value.
Note: You can add several Device Mappers for one device type. For example you would want to do this if you have two types of trucks with different fuel tank volumes or different fuel level meters.
Note: When you add devices to your system you can select one Device Mapper for each device.
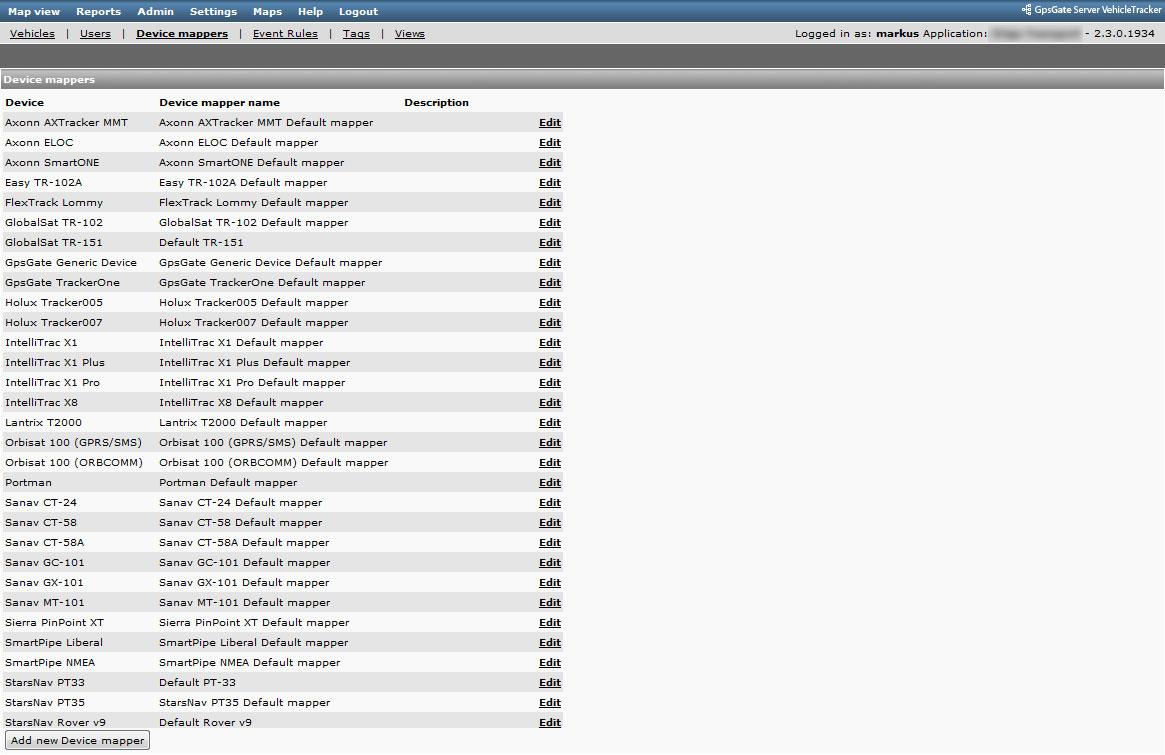
The picture below shows a list of device mappers.
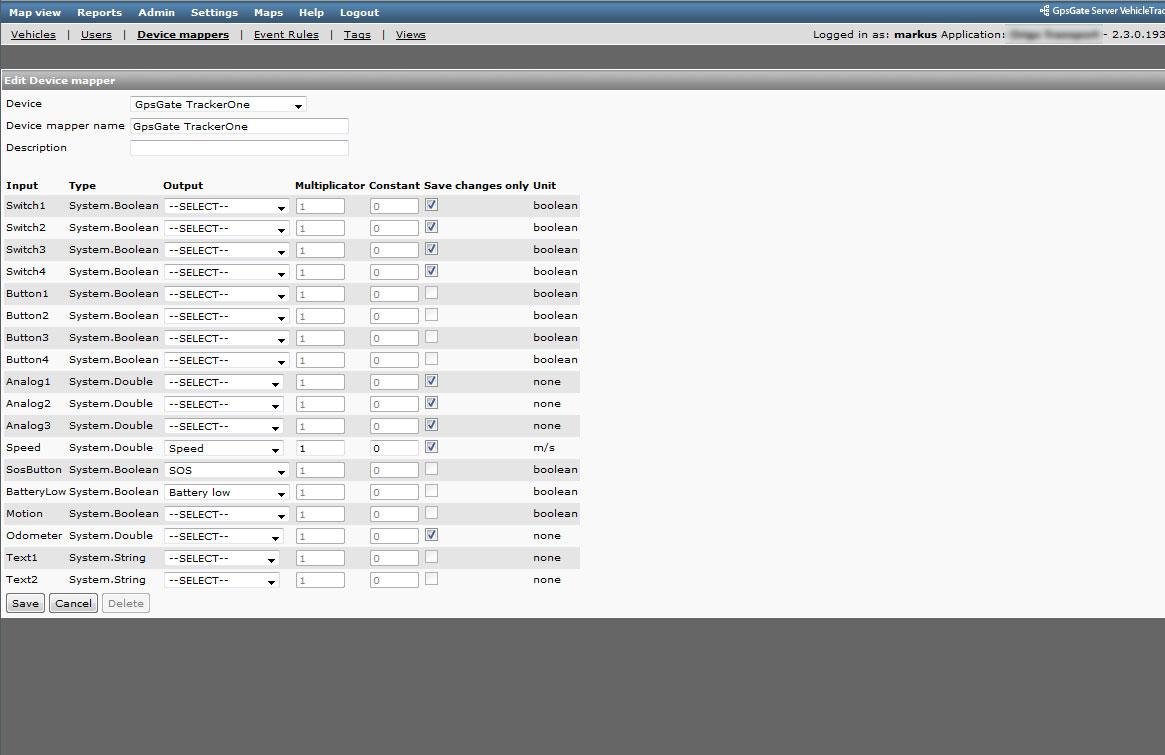
The picture below shows a sample device mapper for a TrackerOne device.
Group Users with Tags
Tags are used to create different groups of Users in VehicleTracker. Tags are set per user and a user can have multiple tags. A user might for example be tagged with Tags such as: “West Coast”, “Los Angeles”, “Manager”, “Taxi”.
Tags are used as one selection criteria when you create Views (discussed in the next section).
The picture below shows the Tag Manager.

The Tag Manager is divided into two sections. The upper area lists the tags currently defined in the system. The lower area is used to add new or edit existing Tags.
You can enter the following information for a tag:
| Name | The name of the Tag |
| description | A description of the Tag |
| Apply to users: | Select the users you want the Tag to apply to |
Filter Users with Views
Views are used to filter users in the user interface. Only the users that fit into the View criteria are shown in the user interface. This can be used to group vehicles after their status, such as Online / Offline. It is also possible to add tags for additional filtering such as “Taxi”, “Truck”, “Department A”, “Operator A”, etc.
The picture below shows the View Manager.
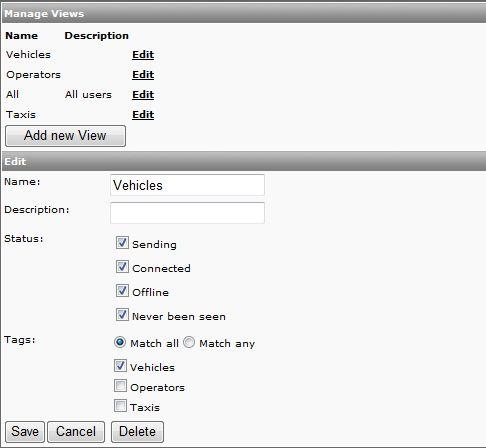
The View Manager is divided into two sections. The upper area lists the Views currently defined in the system. The lower area is used to add new or edit existing Views.
You can enter the following information for a view:
| Name | The name of the View | ||||||||||
| Description | Description of the View | ||||||||||
| Status |
|
||||||||||
| Tags |
|
||||||||||
Control User privileges
*** Needs text ***